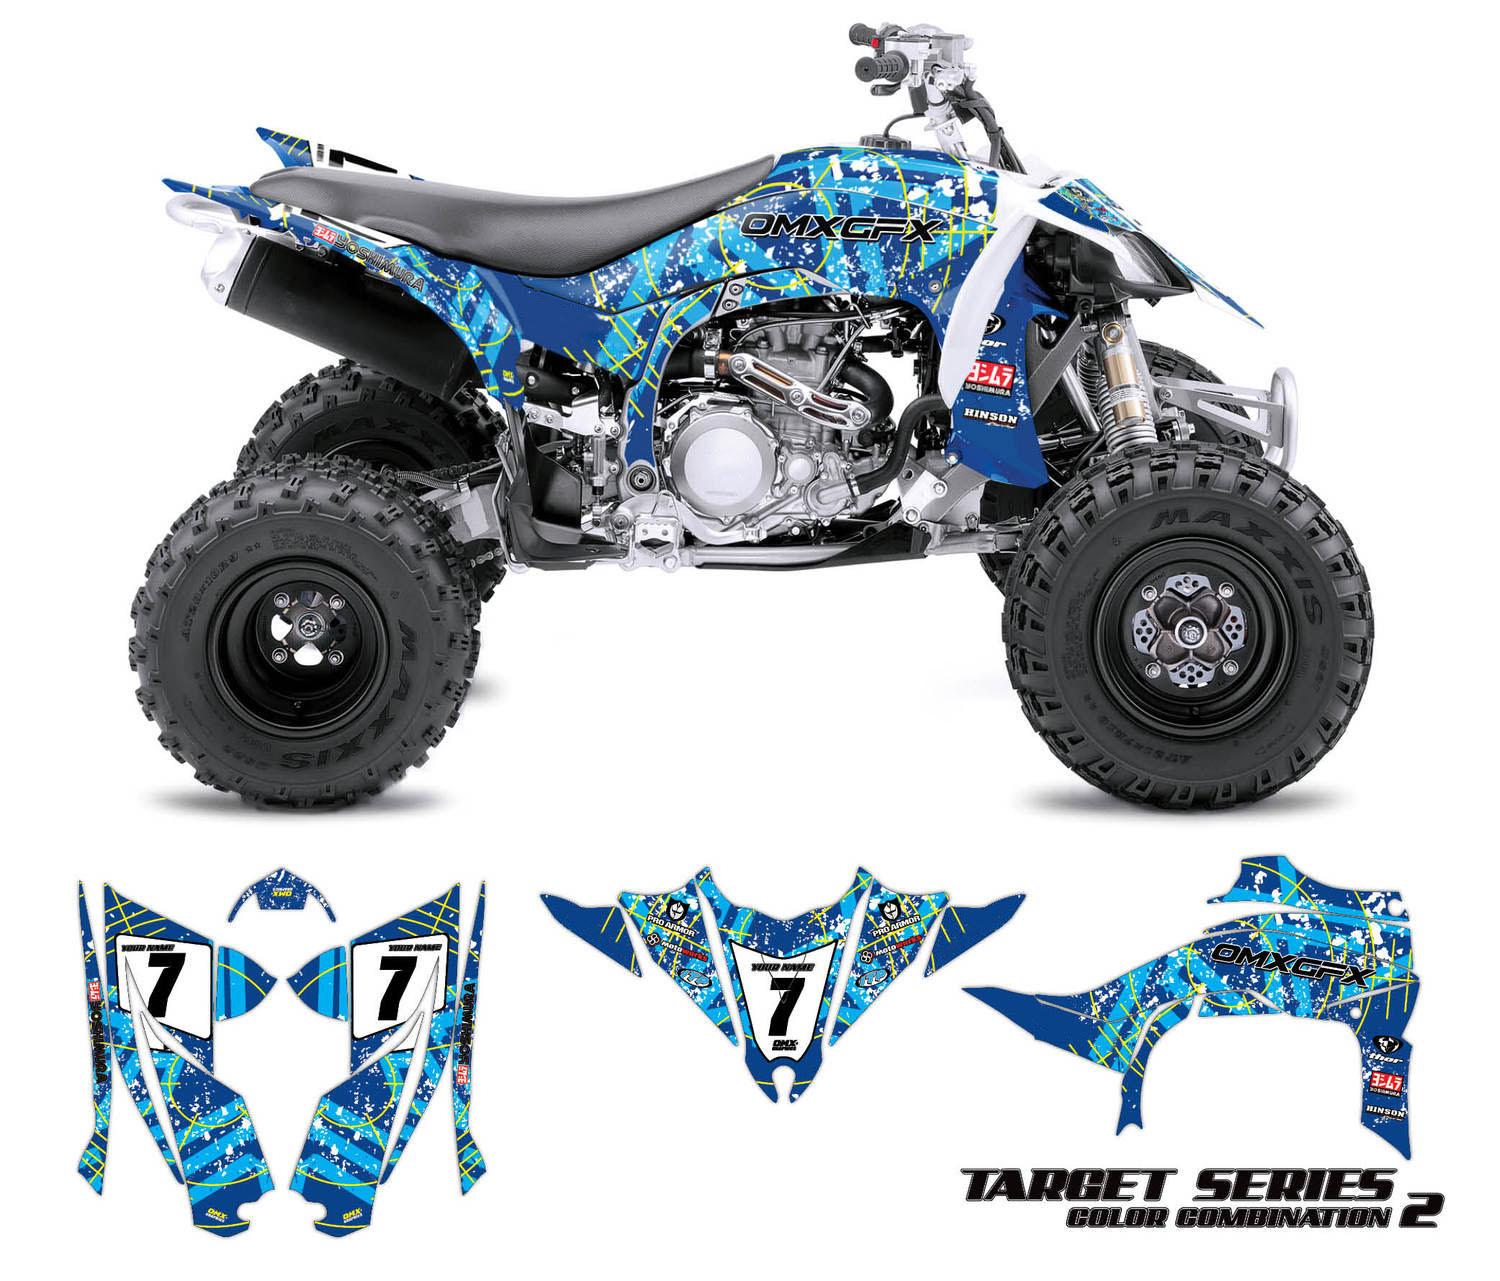
Rev Up Your Ride: A Comprehensive Guide to ATV graphics Kits
Your ATV is more than just a vehicle; it’s an extension of your personality and a reflection of your riding style. Just like a custom paint job on a car, a well-chosen graphics kit can transform your ATV from a stock machine to a head-turning, one-of-a-kind ride. This comprehensive guide dives deep into the world of ATV graphics kits, covering everything from materials and design to installation and maintenance.
Why Choose an ATV Graphics Kit?
ATV graphics kits offer a multitude of benefits, making them a popular choice for riders of all levels.

Personalization: Express your individuality and stand out from the crowd with a unique design. Whether you prefer a bold, aggressive look or a more subtle, understated style, the possibilities are endless.
Understanding ATV Graphics Kit Materials
The quality of an ATV graphics kit depends heavily on the materials used. Here’s a breakdown of the most common options:
Vinyl: The most popular material for ATV graphics kits, vinyl offers a good balance of durability, affordability, and ease of installation. Different grades of vinyl are available, with thicker options providing better protection and longevity.

Choosing the Right Design for Your ATV
With countless designs available, selecting the perfect graphics kit can feel overwhelming. Consider these factors:
Riding Style: Match your graphics kit to your riding style. Aggressive riders might prefer bold, vibrant designs, while trail riders may opt for more subtle or camouflage patterns.
Installing Your ATV Graphics Kit: A Step-by-Step Guide
While professional installation is recommended for best results, many riders choose to install their graphics kits themselves. Here’s a general guide:
1. Preparation: Thoroughly clean the ATV’s plastics with soap and water, removing any dirt, grease, or debris. Use isopropyl alcohol to remove any remaining residue.
2. Tools: Gather the necessary tools, including a spray bottle filled with soapy water, a squeegee, a heat gun (optional), and a sharp utility knife.
3. Application: Start with one section at a time. Spray the area with soapy water and carefully peel the backing from the graphics piece. Apply the graphics to the wet surface, allowing for repositioning.
4. Squeegeeing: Use the squeegee to remove air bubbles and excess water. Start from the center and work outwards.
5. Heat Gun (Optional): For curved surfaces, a heat gun can help soften the vinyl and make it more pliable. Be careful not to overheat the vinyl, as this can damage it.
6. Trimming: Use the utility knife to trim any excess vinyl around edges and openings.
7. Repeat: Repeat steps 3-6 for each piece of the graphics kit.
8. Post-Installation: Allow the graphics to set for 24-48 hours before riding.
Maintaining Your ATV Graphics Kit
Proper maintenance can extend the life of your ATV graphics kit and keep it looking its best.
Cleaning: Wash your ATV with mild soap and water after each ride. Avoid using harsh chemicals or abrasive cleaners.
Where to Buy ATV Graphics Kits
Numerous retailers offer a wide selection of ATV graphics kits.
Online Retailers: Online marketplaces and specialty ATV parts retailers offer a vast selection of designs and brands.
Tips for a Successful Installation
Patience is Key: Take your time and don’t rush the installation process. Rushing can lead to mistakes and a poor finish.
The Future of ATV Graphics
The world of ATV graphics is constantly evolving, with new materials, designs, and printing technologies emerging regularly. Keep an eye out for advancements such as:
Improved Durability: New vinyl and laminate technologies are promising even greater resistance to scratches, fading, and peeling.
Conclusion
An ATV graphics kit is a fantastic way to personalize your ride, protect your plastics, and enhance your ATV’s overall appearance. By understanding the different materials, designs, and installation techniques, you can choose the perfect graphics kit to transform your ATV into a true reflection of your style. So, rev up your ride and hit the trails in style!
atv graphics kit
